I must say, my excitement is boiling over today. This gallery wall is a year in the making. I was a little upset when we moved into the first home in Paragould and it didn’t have enough space in the living room for my gallery wall.
I started working on our living room gallery wall in January 2014. I had just purchased the last piece for it when we decided to move last summer. I think the piece actually came in right as I started packing boxes.
So, when we looked at the house we purchased for the first time and I saw a huge wall in the back of the living room, this chick got pretty excited.
My gallery wall centers around the poem my husband wrote me when he proposed on my birthday in 2007. That crinkled piece of paper means the world to me.
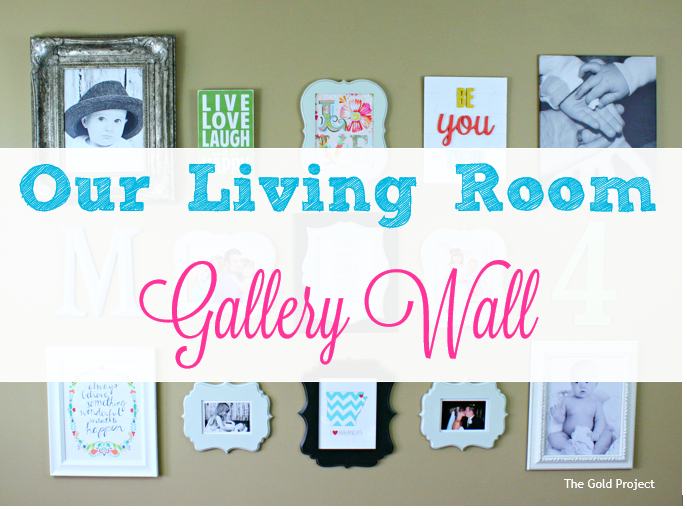
So, without further ado, here is the Morgan family’s living room gallery wall…


Gallery Wall Purchase List:
- Live Love Laugh Wood Sign – Barn Owl Primitives
- Arkansas State Print – Pen and Paint
- Always Believe Something Wonderful Print – Pen and Paint
- Be YOU Tiful sign – Evie Ivy
- Love Block Print – The Wheatfield by Katie Daisy
- “M” – Hobby Lobby & spray painted by me
- “4” Wooden Number – Craft Cuts & spray painted by me
